Monitors offer you the capability to track crucial payment metrics in near real-time, enabling you to stay on top of your payment operations. Setting up a monitor is a straightforward process, and you can access this feature via the Monitor section in the Observability side panel.
Monitors come in two distinct variations, each serving specific monitoring needs.
Static Monitors
Static monitors empower you to establish a predefined threshold for your selected metric. When using a static monitor, you set a specific limit that your metric should not surpass. If it exceeds this threshold, the monitor triggers, alerting you to the issue.
Dynamic Monitors
Dynamic monitors take a different approach by predicting an acceptable range for the metric based on historical data and trends. These monitors trigger alerts when the metric falls outside of this expected range. Dynamic monitors provide a more adaptable way to monitor your payment metrics by accounting for natural fluctuations and trends.
In the following sections, we will explore how to create, configure, and manage both static and dynamic monitors to ensure you have a comprehensive understanding of your payment data and can take timely actions to optimize your payment operations.
To set up a new Monitor, follow these simple steps:
- 1Click the add new monitor button located in the top right-hand corner of the Monitors home page.
- 2Provide a descriptive name for your monitor. A clear and recognizable name will make it easy to identify the monitor in the future.
- 3Choose the type of monitor you want to create. Depending on your requirements, you can opt for either a Dynamic Monitor or a Static Monitor.
- For Dynamic Monitors, you need to specify the payment metric you want to monitor and set the minimum number of samples. The minimum number of samples determines how many payments must be included for the monitor to trigger. Be mindful that setting a lower value for this parameter can lead to more frequent notifications. Dynamic monitors take 6 days to become active once they are created.
- Static Monitors require additional configuration. Along with the metric and minimum number of samples, you'll need to set the threshold value and specify the threshold direction. For example, if you want to monitor the authorization rate, you would set the direction as "below" to be notified if the measured value drops below a fixed percentage. Static monitors also require you to define the time window that the monitor will consider when assessing the metric. The minimum sample window is 5 minutes, meaning the metric will be calculated for the previous 5 minutes.
- 4You have the option to select from a range of filters to gain a granular view of the metric you wish to monitor. These filters cover various aspects, including processors, payment methods, 3D Secure responses, and even highly detailed data like BIN information.
By following these straightforward steps, you can effortlessly create new monitors tailored to your payment metrics, ensuring that you have full control over your payment operations' real-time monitoring.
Editing a Monitor
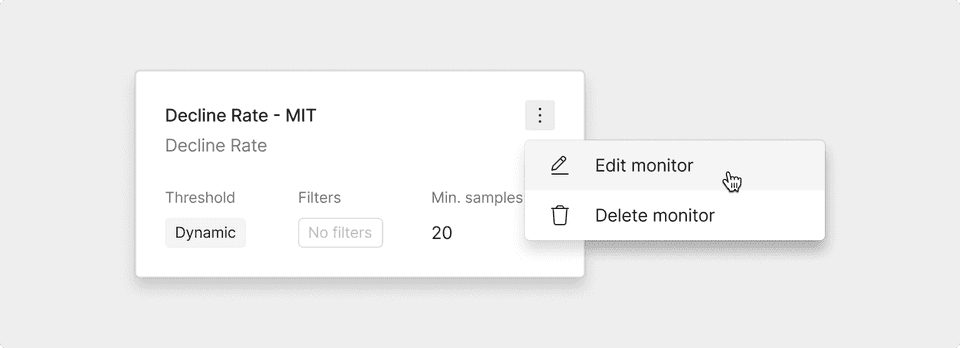
- 1Locate the monitor you wish to edit on the Monitor home page.
- 2Click on the three dots indicating the menu found on the monitor card.
When editing a monitor, you can make adjustments to the following parameters:
- Monitor Name: Modify the name of the monitor for clarity and accuracy.
- Minimum Number of Samples: Adjust the threshold for the number of samples needed to trigger the monitor.
- Filters: Edit or update any filters that are applied to the monitor. This allows you to fine-tune the monitoring criteria according to your evolving needs.

Deleting a Monitor
If you no longer require a monitor, you can easily remove it:
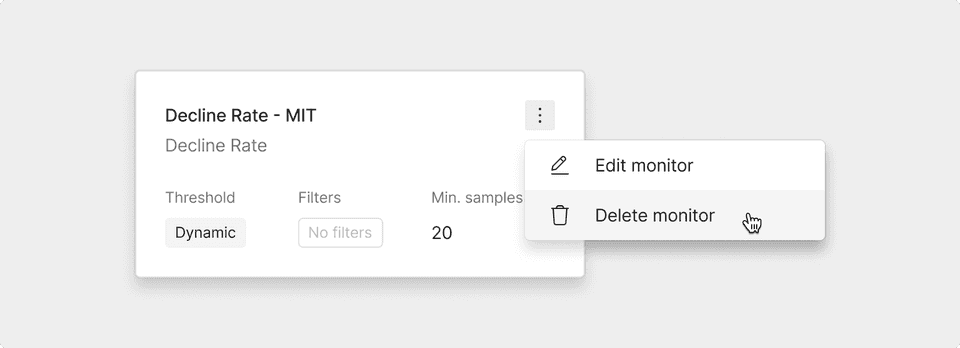
- 1Locate the monitor you want to delete on the Monitor home page.
- 2Click on the three dots in the monitor menu card, which is typically situated within the monitor card.
- 3Select the option to delete the monitor.
Deleting a monitor is a straightforward process, providing you with the flexibility to manage your monitoring configurations as your payment operations evolve.
